Recently a close friend of mine wanted me to set up a development environment for a project called CapWap, never heard of it before and still not sure what it is, but taking glimpse to it's project page on github convinced me its something cool :)
You can access CapWap project page using link :
https://github.com/vollero/openCAPWAP
More detail can be read from project documentation.
Below are the steps to create a development environment for CapWap
1.) Install Virtual Box to your computer. I used Virtual Box 4.3. just download it from
https://www.virtualbox.org/wiki/Downloads installation requires no black magic. Clicking next next and next will do the trick.
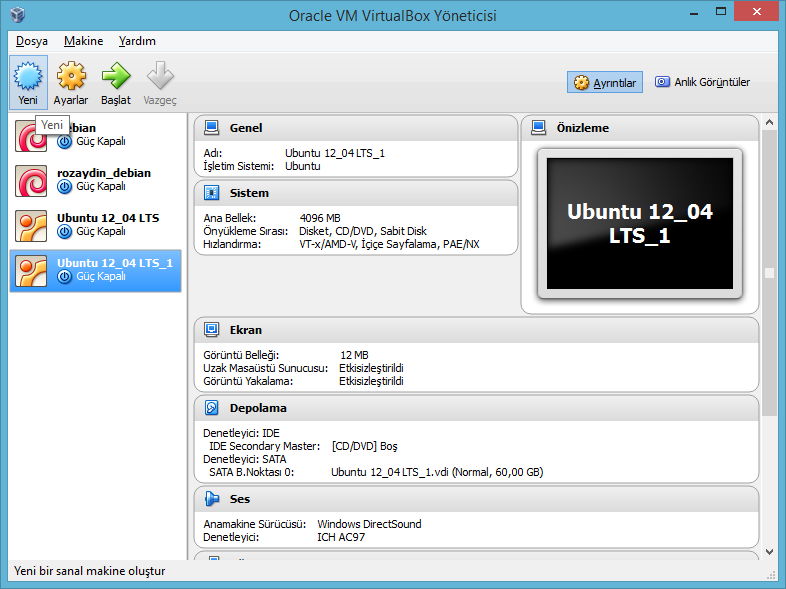
2.) Once installed run it. And create a new virtual operating system by pressing new. Below are some screenshots, in respective order, i took while creating my virtual OS. (Language is Turkish :) but should not be an issue) i allocated 4096 MB Ram, and 60 GB Hdd space. You should allocate at least 64 MB ram for graphics adapter for a comfortable desktop experience.


3.) Once you are done go to Ubuntu web site and download 32 Bit Ubuntu 12_04 LTS Desktop Edition
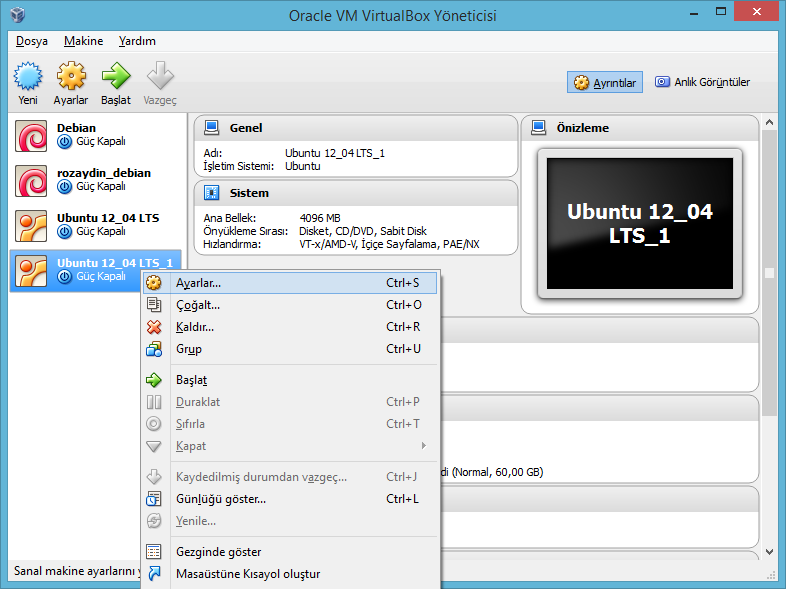
4.) Once the download is complete. open VirtualBox, select the Virtual OS from the left pane and right click on it than select setting from the popup menu. A new window will open, click on storage from left pane, and mount your freshly downloaded iso image. (screen shots below)
5.) Once iso image is mounted start your virtual operating system (go back to main screen in virtualbox select your virtual operating system from the left pane and click start) A new window will appear and ubuntu 12_04 LTS setup screen will welcome you. installation is pretty easy just go next next and follow on screen instructions its nearly impossible for you to fail. ( one thing to mention is once the installation is complete un-mount the iso image you previously mounted otherwise you will be greeted with setup screen again :) ) installation takes up some time so its a great time to waste time on the internet ...
6.) If you survived up to this point rest is a little more straight forward. i installed Netbeans as development IDE the reason is i love Netbeans :). You need to install JDK and than Netbeans follow steps below.
7.) In order to install jdk (java development kit)
open terminal and type below commands in respective order select OK and Yes options when prompted. ( i followed the guide available from link:
http://askubuntu.com/questions/309900/installing-java-7-update-25-on-12-04-lts works flawlessly )
sudo add-apt-repository ppa:webupd8team/java
sudo apt-get update
sudo apt-get install oracle-java7-installer
java -version
if everything goes ok you should be seeing installed java version on the terminal.
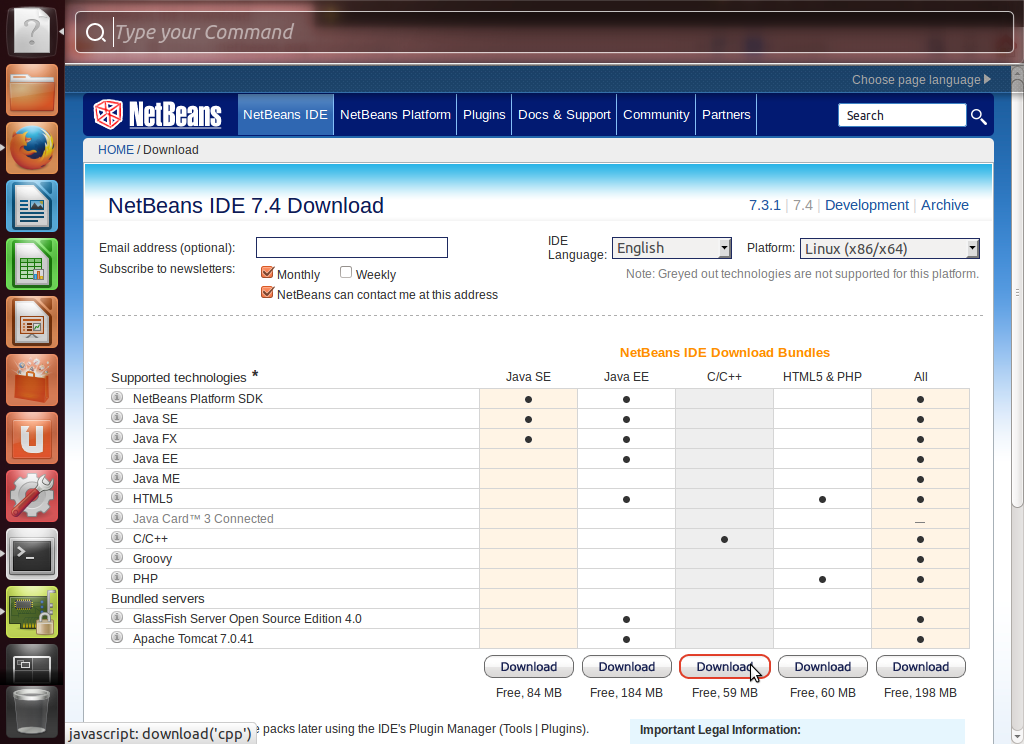
8.) Once the jdk installation is complete download netbeans ide from www.netbeans.org. If you are not planning to do java development selecting C++ development version is sufficient.
When the download completes run the netbeans installer. Your installer file should be located in Downloads directory under your home directory. Installer can be invoked with sudo bash ./"netbeans-installer-name"
cd ~/Downloads
sudo bash ./netbeans-7.4-cpp-linux.sh
installation is pretty straightforward and for c++ development netbeans requires around 210 mb of space. Netbeans will automatically detect required configuration just do next next and next. Once the installation is complete fire up netbeans. ( Click on dash home button from the left pane on desktop type netbeans to the search bar and click on it)
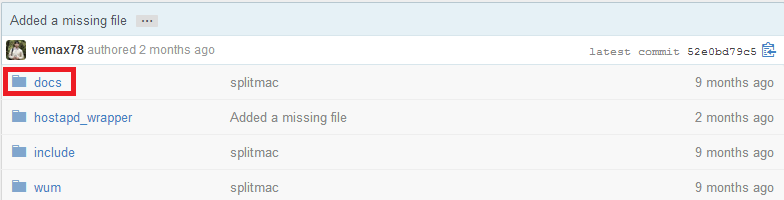
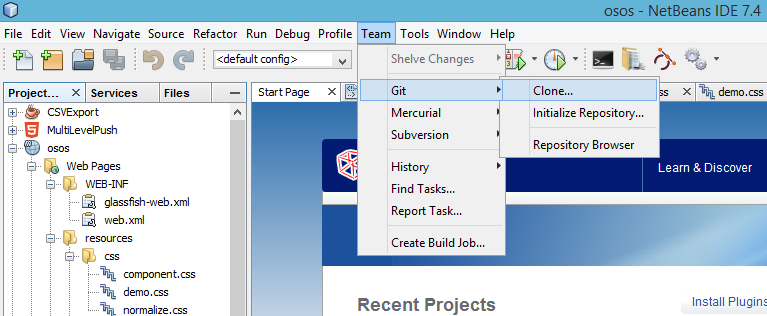
9.) Up to this point we dealt with with virtual box, ubuntu and netbeans setups from this moment on we will finally clone the CapWap repository install necessary libraries and modify makefile and we will compile in the end. Select Team->Git->Clone (Screen shot below)
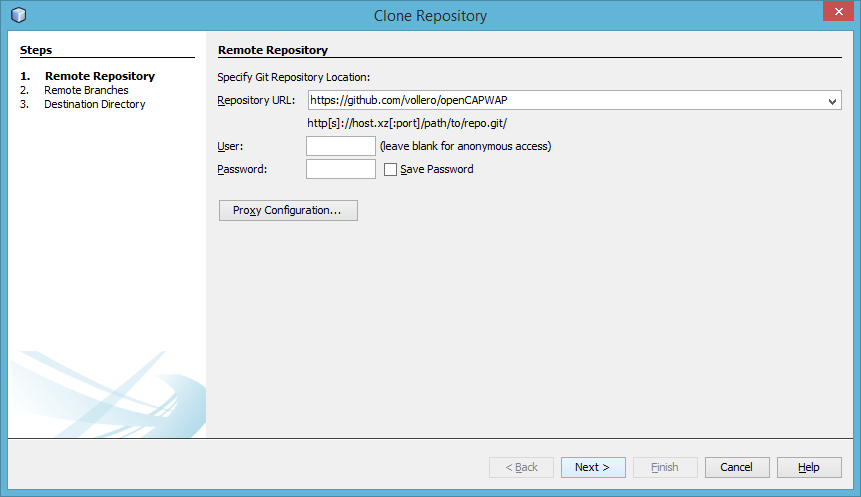
type
https://github.com/vollero/openCAPWAP as the repository url and click next, in next screen just click next and finish.
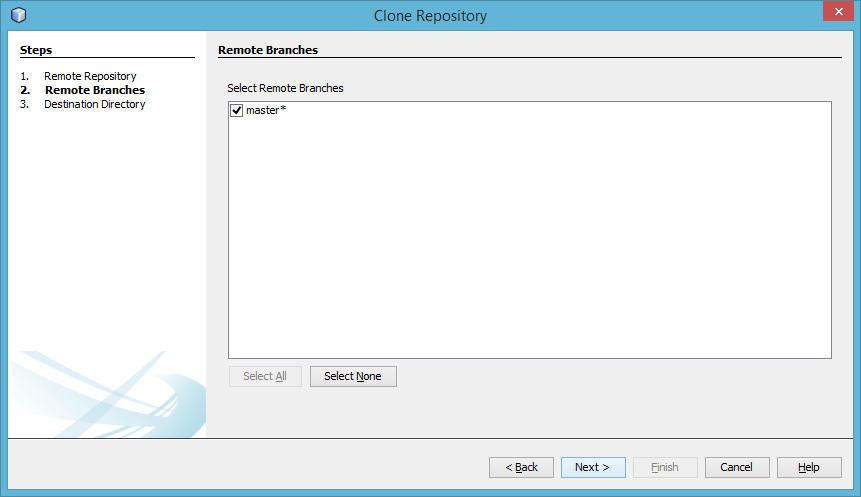
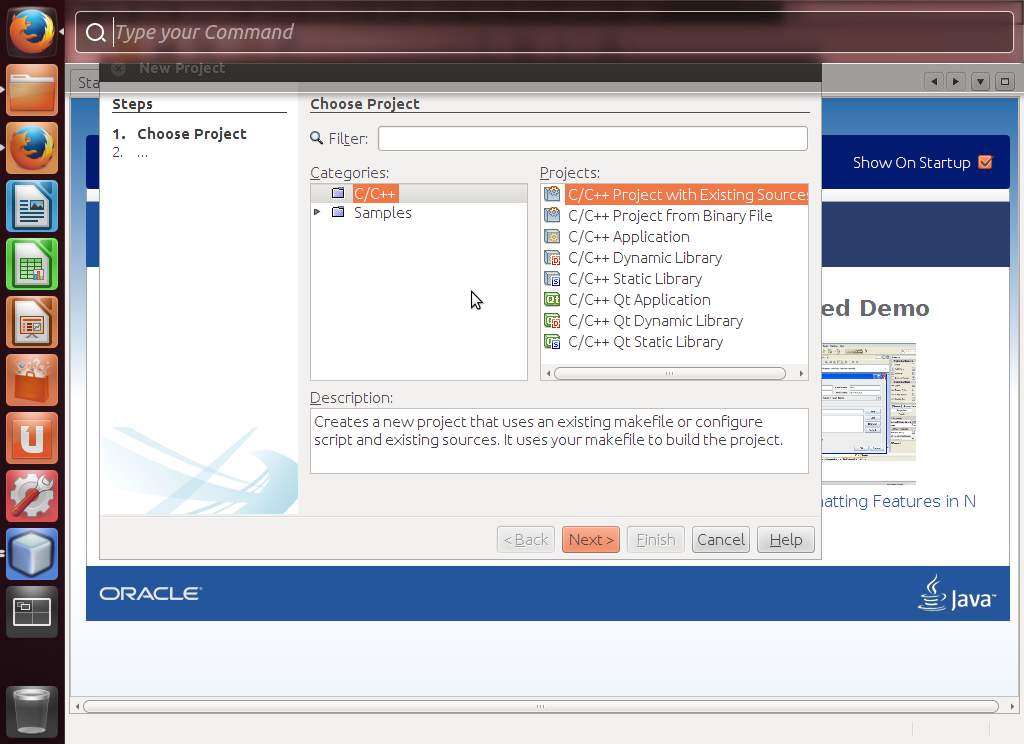
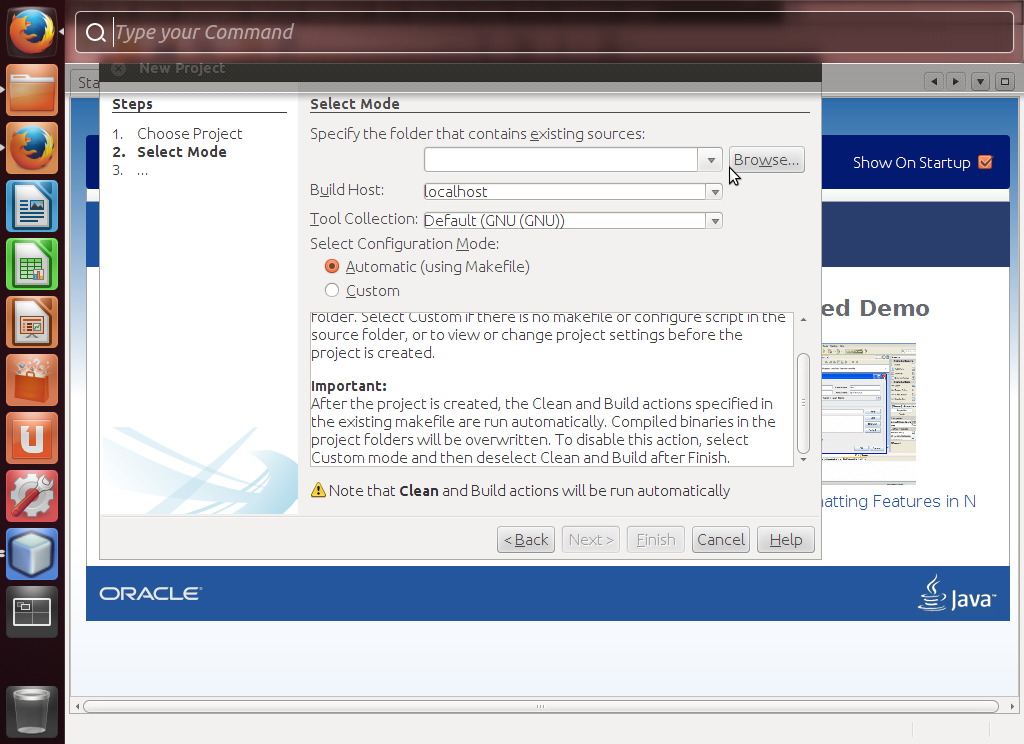
Once the clone opration complete the ide will show a dialog "Do you want to create an IDE project from cloned resources?" click Create Project. Follow the screen shots for next steps.
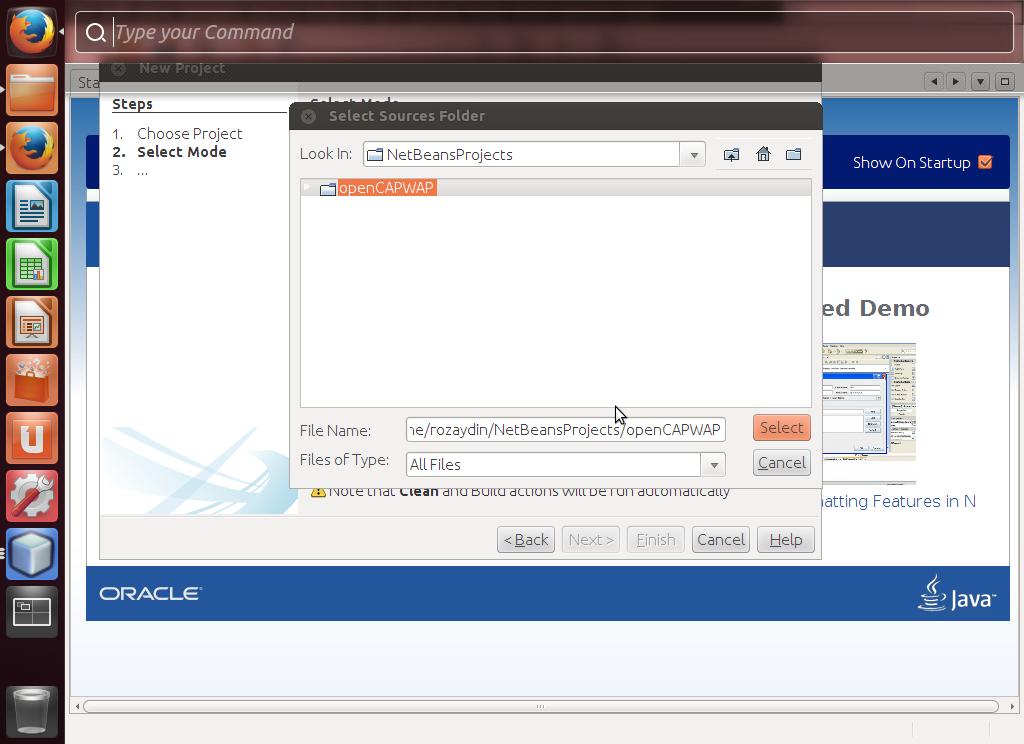

Well if you followed properly you should be seeing the project in the ide right now, congrats only a few more steps left to make it compile properly.
To make CapWap compile you need to install
libpcap-dev, libssl-dev libraries and you need to tweak a few lines in the make file.
Open the terminal and type below commands respectively
sudo apt-get install libpcap-dev
sudo apt-get install libssl-dev
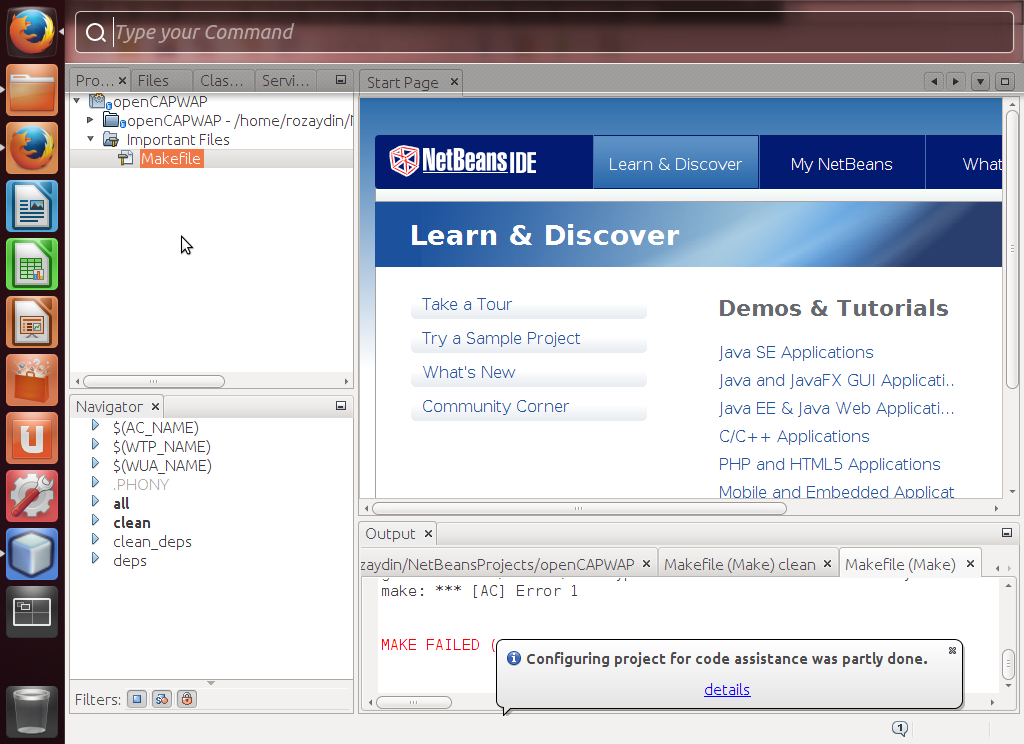
then open Netbeans and double click MakeFile (under important Files) Find the line that starts with LDFLAGS and change it as below:
LDFLAGS = /usr/lib/i386-linux-gnu/libz.a /usr/lib/i386-linux-gnu/libssl.a /usr/lib/i386-linux-gnu/libcrypto.a -lpthread -ldl -lz -D_REENTRANT
Well thats it. Save MakeFile and press clean build from the top, it should compile with no errors and you are ready to go.
I hope someone finds this article useful, feel free to leave your comments below.


